Thursday, September 15, 2011

Wolverine - DONE!

So, Wolverine's finished! Took a few pictures.... 45 to be exact, but I'll show a selection here. All pictures can be seen on my Facebook page, so you won't miss a thing!

But first, a huge thanks and big props to Speedleescustoms for posting his Wolverine back in June. That one immediately inspired me to go out and hunt down the necessary figures/parts to make my own. With a few different details and a custom made base I tried to make this a genuine Incom's custom, though.


Wednesday, September 7, 2011

Wolverine: teaser vid!

Wolverine's nearly finished, just have to resolve some major issues with paint chipping on his shoulders. Here's a little teaser I made to entertain you, while I fix his shoulders and finish a base for Wolverine to stand on!


Sunday, August 14, 2011

Bigger looks better

A small update on Wolverine. I redesigned the alternate head by giving it bigger er.... flaps. The original head was that of Toybiz' Stealth Wolverine seen here

I can see why Speedleescustoms (Paul) picked this head as an alternate one. It's very detailed, especially the five o'clock shadow Wolvie sports. But yeah, the mask definitely needs bigger ears... flaps... whatever.

Here's a shot of the sculpt work:


Thursday, July 28, 2011

Ulthane: sculpting update

With the completion of my Twi'lek smuggler, I can again focus on what is fast becoming my favourite project to date: Ulthane. I received some hints and tips from Sithfire on using Fixit, most notably on working with it during various stages of the curing process.

That knowledge allowed me to start on Ulthane's cowl. I have just finished the backside of this. In the pictures you can also see some additional details (stubs) on his right shoulder armour.

In the picture below I have applied a patch of Fixit (50 minutes after mixing it) in a rough shape over Ulthane's back. I wrapped his left arm in a piece of plastic foil to prevent the Fixit from adhering to it. In this stage, the Fixit is still sticky, but easier to work with than it is right after mixing it.


In the picture below it is approximately one hour further into the curing process. The clay is not that sticky at all anymore and is starting to retain its shape. At this stage I started adding folds and pulling and jabbing away little pieces to form the ragged edge of the cowl.


In this last picture you can see two shields. The small shield will be placed on Ulthane's lower back. The large shield will become an actual shield, with which he can defend himself. As if an Ancient One needs defending himself..... :)


The small shield was fun to make. First I let a mixed ball of Fixit cure for an hour. Then I flattened it to an even flat disc. After another hour I took a cap from a milk carton (I have dozens of those) and pressed down in the clay, cutting out a nice disc, nearly an inch in diameter. Half an hour later I placed that disc on a large marble, pressing it down and letting it cure. I will sand it down later on and apply additional details.

For the large shield, I applied a patch of Fixit on World War Hulk's sanded down shield, wrapped in plastic foil. And then I just let that cure to add details afterwards.

As a reminder, the reference picture I am mostly working from:


That is it for now, I hope you enjoyed this update. You can also view my work on Facebook. Take a look and if you like what you see, become a fan! :D More coming soon, of course!


Sunday, July 24, 2011

Time to shred.... bub

Over at Procustomizers.com, Speedleescustoms made one helluva Wolverine. Do check it out over here!
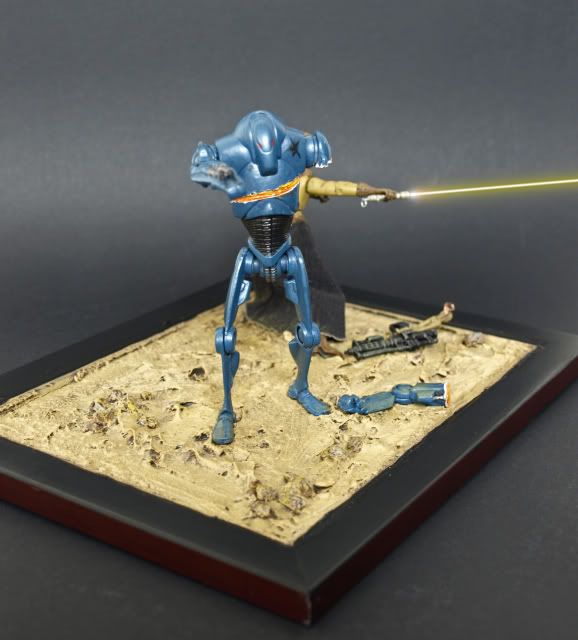
It inspired me to make my own, based on that exact custom. It's all good, people, credits due where credits are due :)

Here's an early WIP shot of Wolvie, fitted with some serious hardware:

Stay tuned for more updates on him!
Saturday, July 23, 2011

Female Twi'lek smuggler (SW:TOR era)

Like I mentiond in my previous post, I only needed to touch up a few details. Here's a series of pictures of the final custom.


This figure was made of the following parts:
- Head (modified): Legacy Cesi "Doc" Eirris
- Upper arms, upper body, lower body, upper legs: G.I. Joe ROC Scarlett
- Lower arms, lower legs, feet: G.I. Joe ROC Baroness
- Belt (modified, added holsters from the fodder bin): G.I. Joe 25th. Scarlett
- Double barreled blaster, made from these three blasters
- Single barreled blaster from the fodder bin

Again, this figure turned out into something really personal, as it will be auctioned off in sole benefit of Michael Martinez' fiancé Hollie and their daughter.

R.I.P. Mike and may the Force be with you. Always.

Thursday, July 21, 2011

Twi'lek smuggler WIP

Here's a series of work in progress pictures of a Twi'lek smuggler I'm currently working on. She's nearly done, only need to touch up a few details and seal her in matte and gloss finishes. This is one of my most personal customs, as it will be put up for auction in benefit of Michael Martinez' girlfriend and daughter.

This is the drawing I based this custom on. It is a beautiful artpiece by DeviantArtist greyfoxx082.


Painting of the head is nearly done now. I used a Cesi "Doc" Eirris head and sanded off the balaclava. Sculpted the braces on her lekku and added a pair of goggles from the fodder bin.

Expect final pics sometime this weekend!

Tuesday, July 5, 2011

Tragic loss


On July 2 the customizing community lost a great member. In a tragic traffic accident, Michael Martinez, known as Mercury Art Studios, was killed in a head on collision with a drunk driver. Mike was only 27 years of age. My deepest condolances go out to his fiancé Hollie and his daughter. As a father of two little girls myself, I am heartstruck at the thought of how to cope with such a tragic loss.

Michael was a passionate customizer, really cranking out one fantastic custom after the other. His work, his enthusiasm, his skills, but most of all Mike himself will be sorely missed.

His loss deeply affected the customizing community, which is ever growing, yet remains tight-knit. Various forums have already started honourable causes and auctions in Mike's rememberance and in aid of his family. While I did not know Mike in person, it feels like a friend has been lost to me. I immediately decided to take part in the various causes in his honour.

Please take a minute to view Mike's work and do take a look at the various causes that already have been set up by members of the community:


Mercury Art Studios - customs showcases:


Last, but not least, take a look at this fitting tribute by The Kessel Run Review:


Monday, June 6, 2011

Airbrush: I'm sold

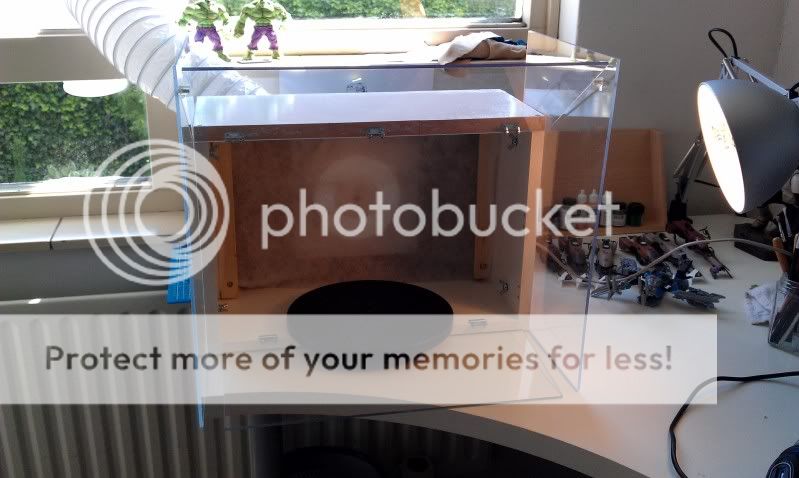
Earlier this year I bought myself a nice Iwata HP-CS airbrush and with spring around the corner, I made a spray booth as well. Did some test runs with my airbrush and I was sold right away. Now, I still have a lot to learn with this new aspect of my hobby, but I feel I got off to a pretty nice start. Nothing serious worth showing yet, but I've completely disassembled a ROTF Soundwave figure and primed all parts white. Yes, white, one of the most difficult colours to handle. Maybe because it isn't a colour at all, who knows.

Anyway, below is a pic of my spray booth, which was fairly easy to make, using one I found on the internet as an example (props to the dude who came up with this basic design!)

Made from a few MDF and plexiglass panels custom sawed at the hardware store, a couple of hinges, screws, glue and a bathroom fan and flexible hose to take care of the fumes. A patch of a kitchen hood filter to finish it off. All in all about $45-$50 I'd say. The fan isn't the most powerful out there, but it will suffice for now, since I'll mainly use my airbrush and acrylics, instead of spray paints and solvent based paints.


Tuesday, May 17, 2011

Breathing space

I just bought a new desk at IKEA which gives me a lot more space to work on. Since my customizing/collection room isn't very big, this corner desk is an ideal solution to have more work space, without taking up too much room.

I'll do my best to keep it as tidy as it is now....


Below you can see my old desk:


Tuesday, February 15, 2011

Last Droid Standing mini dio

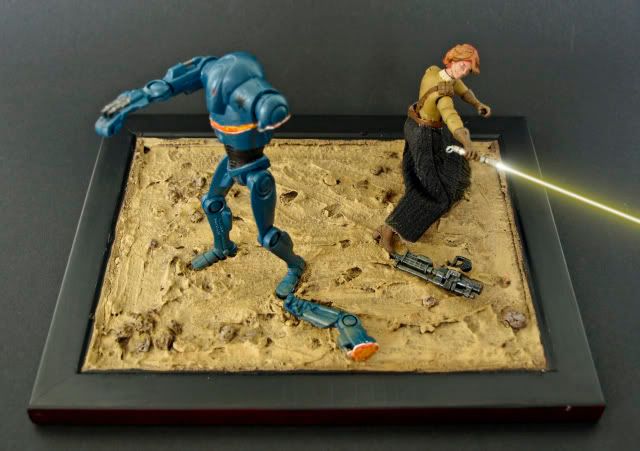
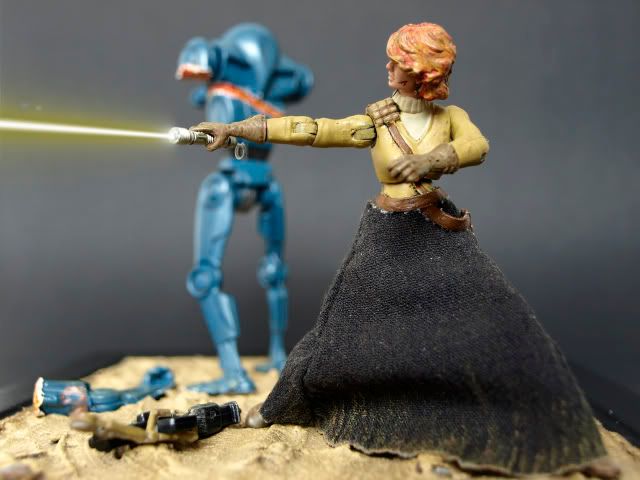
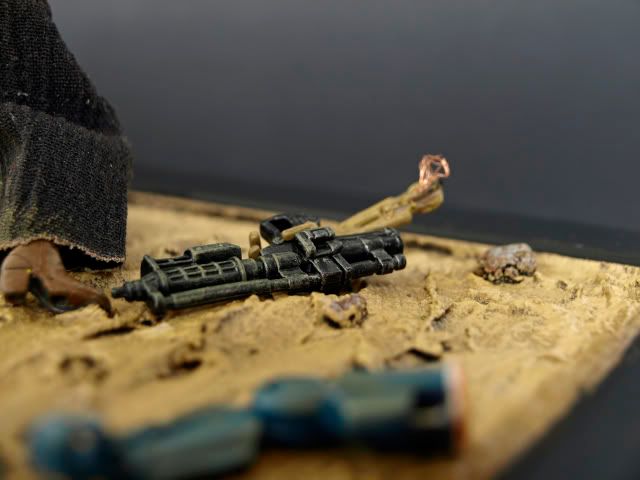
I made this mini dio back in early 2009.

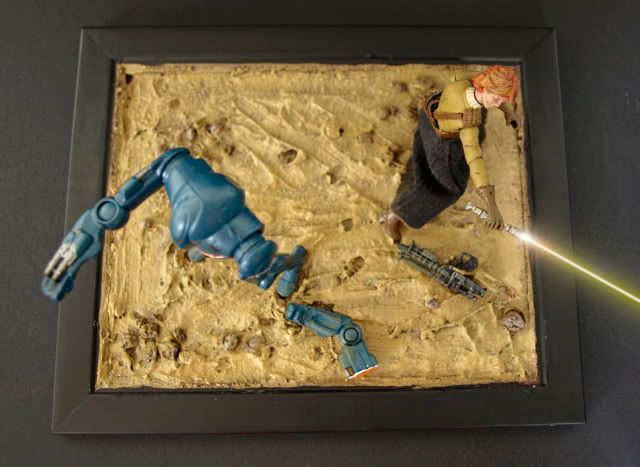
The dio depicts a scene of a female Jedi that has just sliced her last SBD. I've always wanted to make a lightsaber slash effect and learned a lot from reading posts about making lava bases on various miniature gaming forums.


Thursday, February 3, 2011

Why the Rebels won on Endor.

You think the Rebels won the battle on Endor because of the Ewoks? Fur real? Those cute little furballs were just a mere distraction. In reality the courageous acts of the battle hardened Rebel troopers, who gave everything they had in the final battle to regain their and the galaxy's freedom, turned the tide and helped bring down the Empire!


Here's one of those seasoned troopers, who will be joined sometime this month by a squad mate.


Parts used:


Trigate Creations* - head
POTJ Rebel Trooper - jacket
Saga '06 Endor Rebel Soldier - helmet, hands, belt, holster, blaster
G.I. Joe Resolute Duke - body

* Trigate Creations, formerly known as Good-to-Go Customs, has been renamed to Slayer Design Studios, awesome place to obtain some high quality casts of just about everything!

Saturday, January 29, 2011

"Yer welcome to give it a go...."

One of my favourite PS3 games is definitely Darksiders. Featuring the artistic talent of Joe Madureira, Darksiders has an awesome feel and look to it. Add Mark Hamill to the voice actors and you've got a sure win!

Although I really dig each and every one of the characters, some are just that teeny bit cooler. Take Ulthane for instance. The minute I entered his part of the woods and saw the introduction video, I was sold. What an awesome character! Naturally, the customizing bug started to tickle me and when the right base figure (Marvel Universe WW Hulk) came along, I was ready to start on what will be my most extensive custom ever.

As is often the case, a character appearing in comics, video games and concept art will have differences in appearance. For Ulthane, I chose to go with this concept drawing I found on the net. It's quite different from how Ulthane looks in the game, but it's the most detailed reference picture I could find.

This project requires me to seriously test and develop my skills using Fixit Sculpt. So far I'm very pleased with how Ulthane looks and this of course really motivates me to keep on working on him!

Below are two WIP pics of that big grumpy Ancient One, who has this weird dislike of.... pigeons.


Sunday, January 23, 2011

You have been..... deceived

I'm sure all of you have seen the awesome SW:TOR Deceived trailer back in 2009. If not, check it out right here:

In September 2010 I was contacted by an Australian fellow who asked if I could make him a diorama of the main characters in that trailer: Darth Malgus and Master Ven Zallow. I was very happy to make this happen and the final result is what you see in the pictures below:


More pictures can be seen here.